Introduction
Nginx is one of the most widely used web servers in the world and can be used to load simple websites or also as a reverse proxy, load balancer, mail proxy, and/or HTTP cache system. The software behind Nginx is open-sourced and free.
In this article, we'll walk you through how to configure a brand-new Ubuntu server on Vultr, install and configure Nginx, and replace Nginx's default HTML with our own content.
Plus, we'll provide you with some free Vultr credit for you to play around with at no cost.
Let's get started!
Table of Contents
Step 1 - Signup or Login Into a Vultr Account
To start, we need to create an account on Vultr or log in to your existing account.
For a FREE $100 CREDIT, use this link: https://www.vultr.com/?ref=8608287-6G.
They will ask you for a credit card, but you can cancel anytime before you exceed the $50 credit balance.
Make sure you have the "I just want to link my credit card -$0.00 deposit" checkbox checked. This will ensure your credit card doesn't get charged.
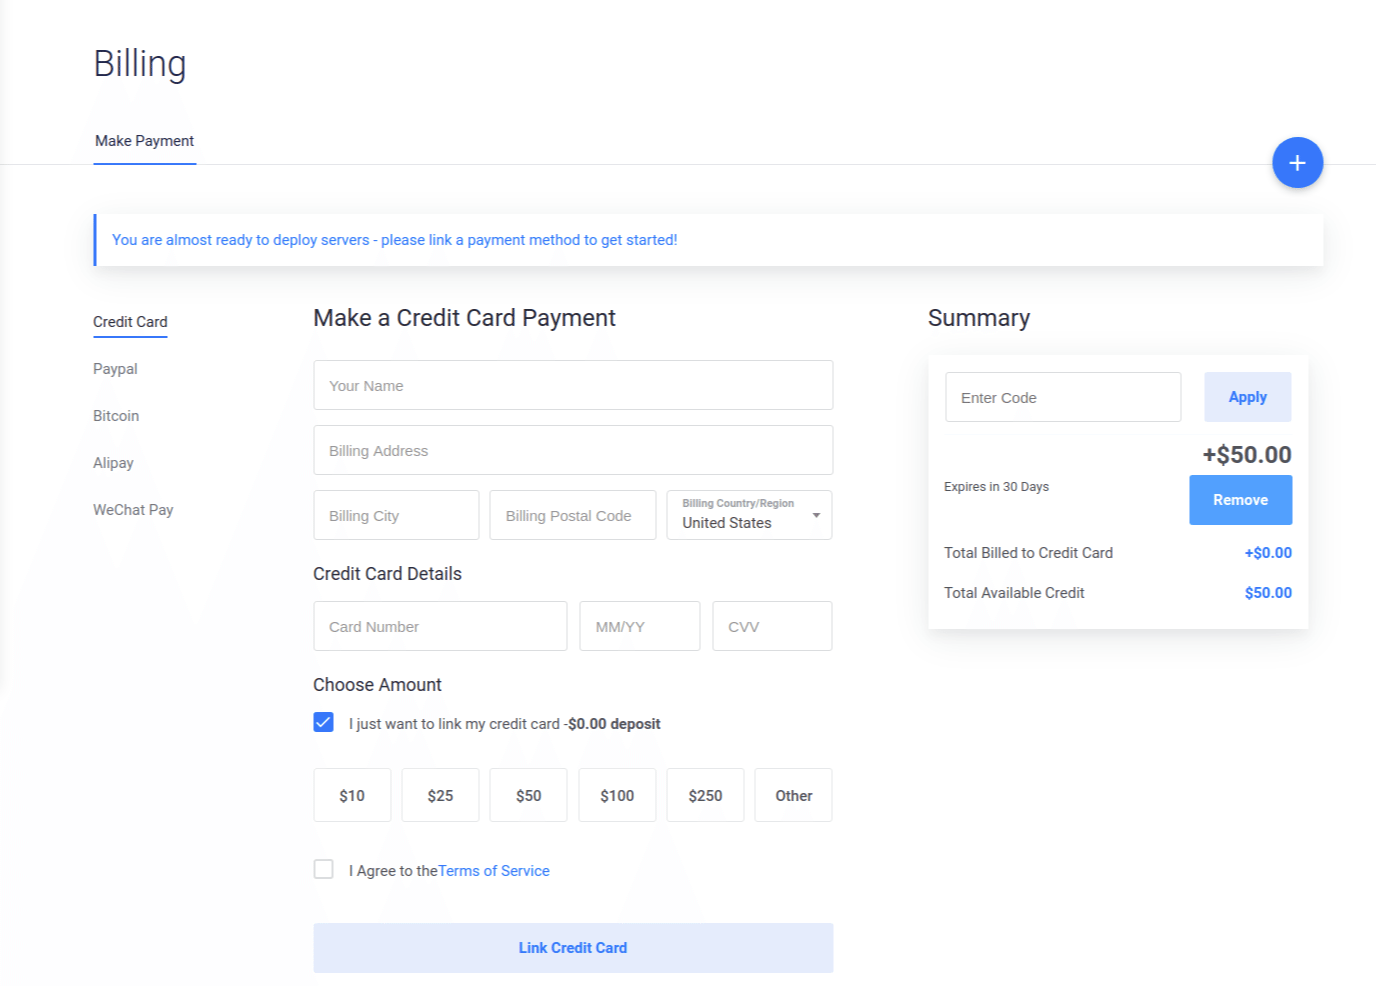
You should now have an account created (or logged into a pre-existing one) with a free $50 credit to play around with. We can now move to the next step.
Deploy a New Instance on Vultr
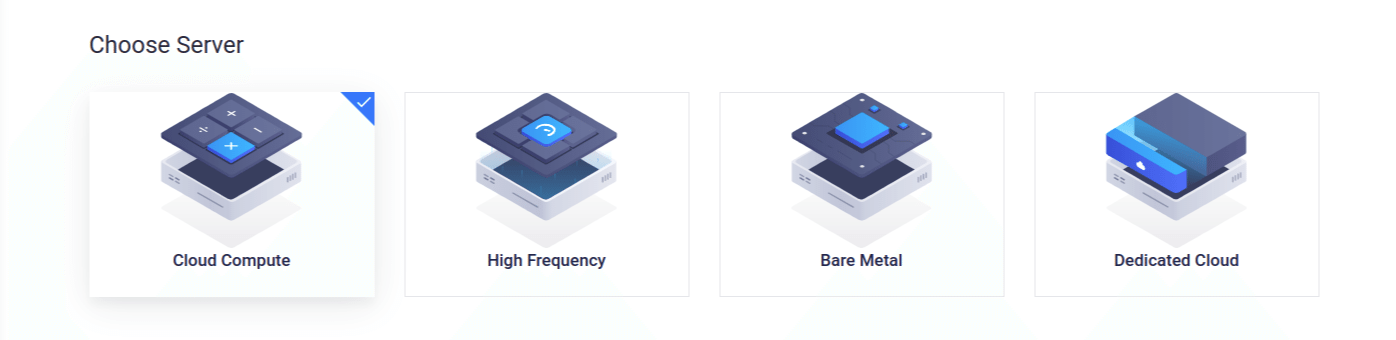
Choose Server - Choose the "Cloud Compute" option.
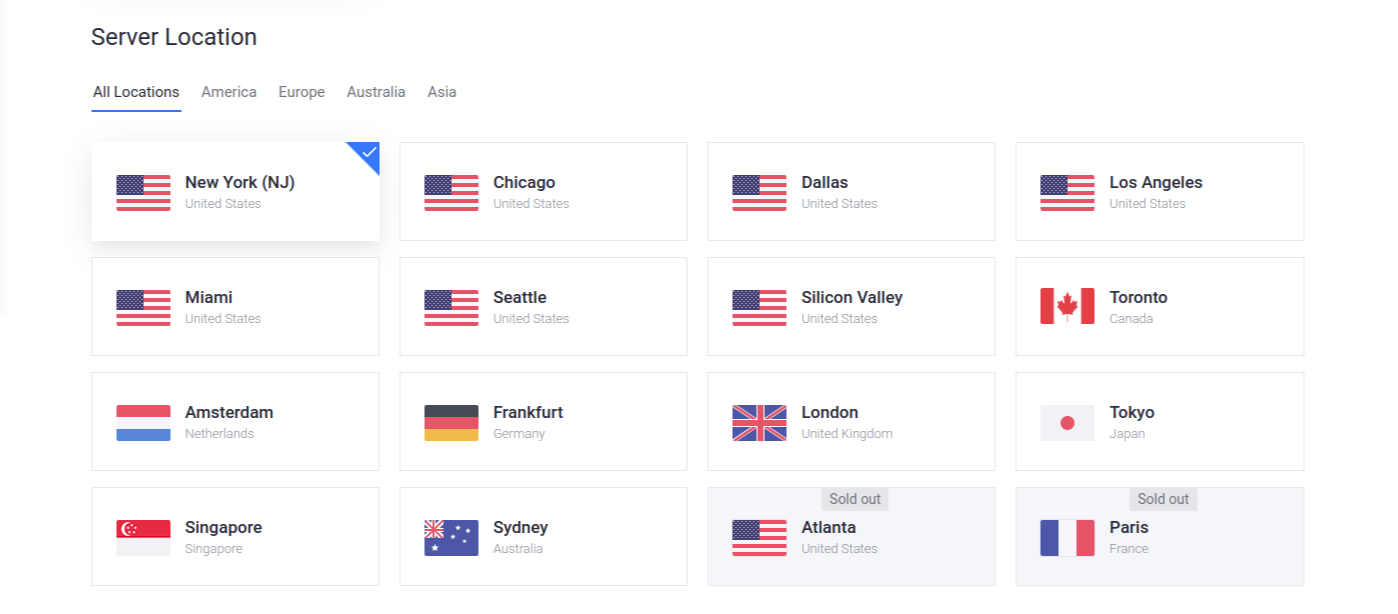
Server Location - Choose the "Toronto" option.
Server Type - Choose the "Unbutn 18.04 64" option.
Server Size - Choose the "5$/month" option.you will get:
1024 MB Cloud Compute - 157.158.159.219
Has been successfully created!
IPv4 Address: 157.158.159.219
OS: Ubuntu 18.04 x64
RAM: 1024 MB
Storage: 25 GB
Location: Toronto
To create your Ubuntu server, go to the "Products" section and then to the "Deploy New Instance" (link) Page.
There are a ton of options on this page.
Server Type
The first option is the type of server you want to use. Choose the "Cloud Compute" option.
Server Location
Next, they let you choose where your server will be physically located. Choose the location closest to where your users live to.
Server Operating System
Then you get to choose the operating system of your server. Select the Ubuntu operating system and the version you want to use.

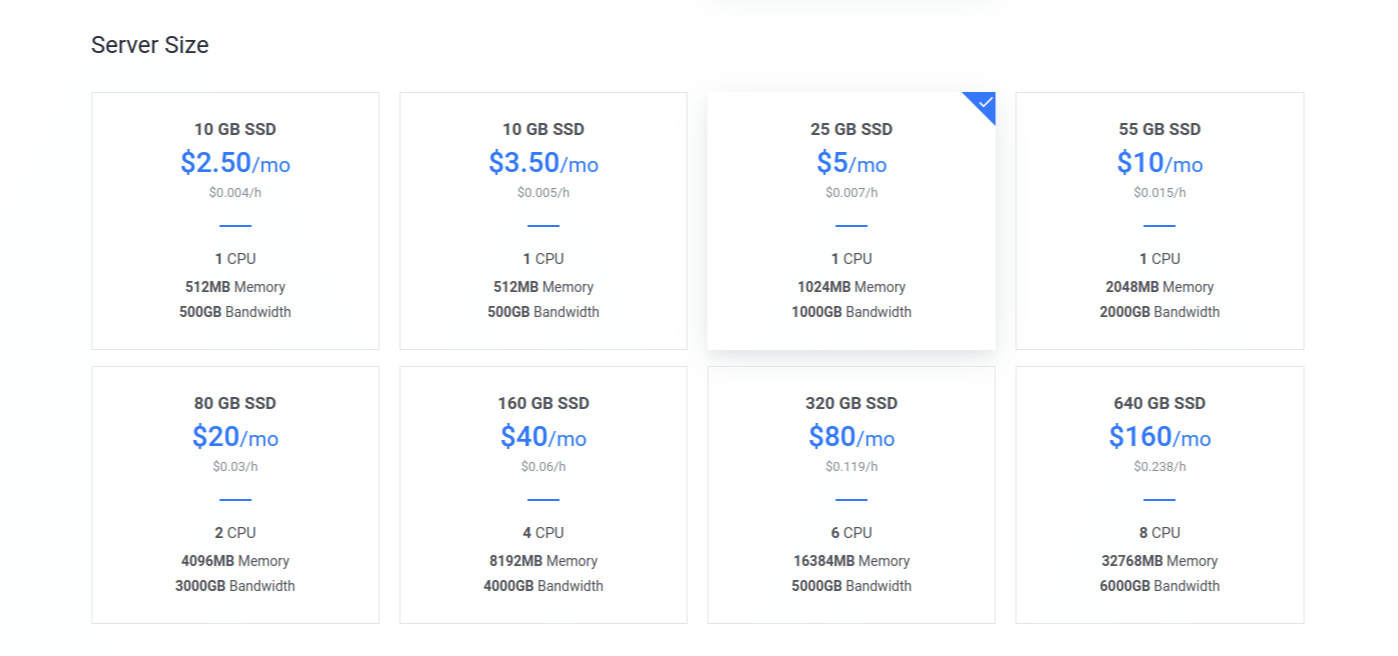
Server Size
And then choose the size of your server. For this tutorial, it doesn't matter which one you choose.
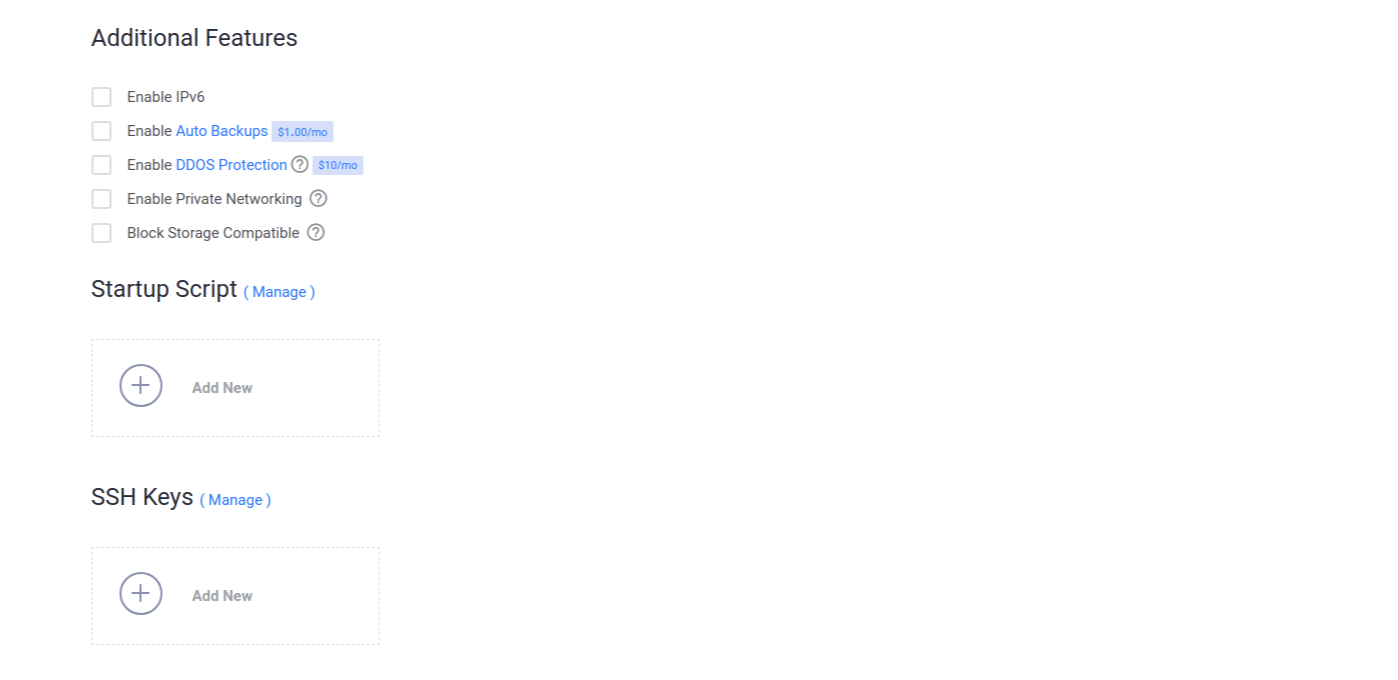
Server Additional Options
After choosing the server size, there are three sections that you can leave blank: "Additional Features", "Startup Script", and "SSH Keys."
Server Name & Deploy Server
In the last section, pick a name for your server (only visible to you) and click the Deploy Now button to create your server.

Nice, your server is now deployed!
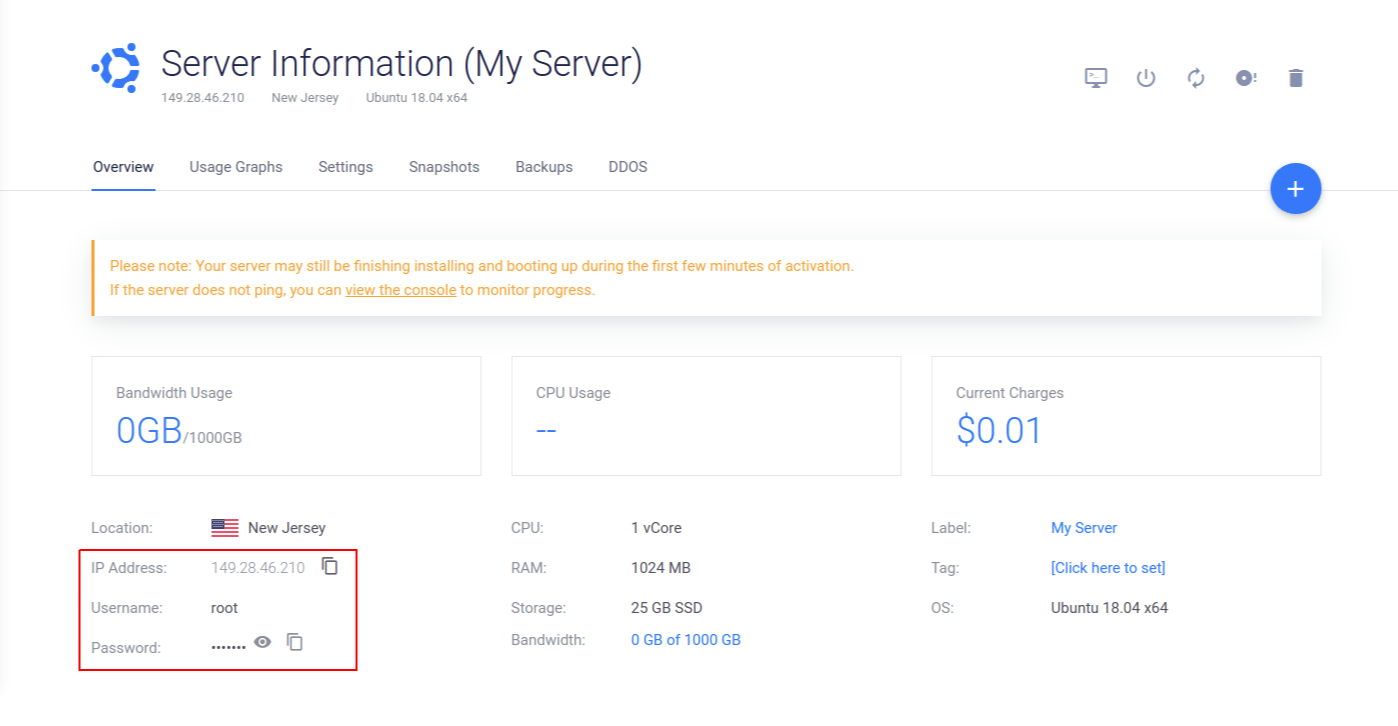
Obtain the Server IP Address & Root Password
To set up our server, you'll need both the IP address of the server and the private key (password) for the root user's account.
To obtain this information, go to the Products page and click on your new server. This will take you to the Server Information page for your server.
At the bottom of the page, you'll find the IP Address, Username, and Password for your server (red box in the image below).
Login to the Server as Root
With the IP Address and root password, we can now login to our server as root.
To log into your server, open a terminal (Ctrl+Alt+T for Linux) on your local machine. Once you have a terminal open, use the following command to SSH in as the root user:
ssh root@server_ip_addressAccept the warning about host authenticity, if it appears, and provide your root password. If it's your first time logging into the server with a password, you will also be asked to change the root password.
The root user in a Linux environment has very broad privileges and, for that reason, you are discouraged from using it regularly. This is because very destructive changes (even by accident) can be made while using it.
In the next step, we're going to create an alternative account with limited scope that will be used for daily work.
Create a New User
Logged in as root, we can create a new user account that will be used to log in from this point forward. You can create a new user with the following command (use your username instead of bob):
adduser bobYou'll be asked some questions starting with the password. Choose a strong password and fill in any of the optional information after that. You can just hit ENTER repeatedly to skip the rest of the questions after that.
Give Your New User Root Privileges
You now have a new user account with regular account privileges. But you might occasionally need to do administrative tasks that require root privileges. So, instead of logging out of your normal user and logging back in as the root account, we can give the normal account the ability to run root privileged commands when you need to by adding sudo before each command.
To do this, add your new user to the sudo group. As root, run the following command to add your user to the sudo group:
usermod -aG sudo bobNow your user can run commands with root privileges!
The next server setup steps help increase the security of your server. They are optional but highly recommended.
Add Public Key Authentication
By setting up public-key authentication for the new user, it will increase our server's security by requiring a private SSH key to login in.
Generate a Key Pair
If you don't already have an SSH key pair, which consists of a public and private key, you need to generate one. If you already have a key that you want to use, skip to the Copy the Public Key step.
To generate a new key pair, enter the following command at the terminal of your LOCAL MACHINE:
ssh-keygenYou'll receive an output similar to the following:
Generating public/private rsa key pair.
Enter file in which to save the key (/Users/yourusername/.ssh/id_rsa):
Press ENTER to accept the file name and path.
Next, you'll be prompted to enter a password to secure the newly created key with. You can either create a password or leave it blank. This generates a private key, id_rsa, and a public key, id_rsa.pub, in the .ssh directory of your home directory.
Copy the Public Key
Now that you have the SSH key pair on our local machine, we need to copy our public key to the server.
Option 1: SSH-Copy-Id
If your local machine has the ssh-copy-id script installed, you can use it to install your public key to any user that you have login credentials for. If not, use Option 2 to install the key manually.
Still on your local machine, type the following command:
ssh-copy-id bob@server_ip_addressYou will be asked for the user's password. Then, your public key will be added to the server user's .ssh/authorized_keys file. The corresponding private key can now be used to log into the server.
Option 2: Install the Key Manually
Assuming you generated an SSH key pair using the previous step, use the following command at the terminal of your local machine to print your public key (id_rsa.pub):
cat ~/.ssh/id_rsa.pubThis should print your public SSH key, which should look something like the following:
ssh-rsa AAAAB3NzaC1yc2EAAAADAQABAAABAQDBGTO0tsVejssuaYR5R3Y/i73SppJAhme1dH7W2c47d4gOqB4izP0+fRLfvbz/tnXFz4iOP/H6eCV05hqUhF+KYRxt9Y8tVMrpDZR2l75o6+xSbUOMu6xN+uVF0T9XzKcxmzTmnV7Na5up3QM3DoSRYX/EP3utr2+zAqpJIfKPLdA74w7g56oYWI9blpnpzxkEd3edVJOivUkpZ4JoenWManvIaSdMTJXMy3MtlQhva+j9CgguyVbUkdzK9KKEuah+pFZvaugtebsU+bllPTB0nlXGIJk98Ie9ZtxuY3nCKneB+KjKiXrAvXUPCI9mWkYS/1rggpFmu3HbXBnWSUdf [email protected]Select the public key, and copy it to your clipboard.
To enable the use of SSH key to authenticate as the new remote user, you must add the public key to a special file in the user's home directory.
On the server, as the root user, enter the following command to temporarily switch to the new user:
su - bobNow you will be in your new user's home directory.
Create a new directory called .ssh and restrict its permissions with the following commands:
mkdir ~/.ssh && chmod 700 ~/.sshNow open a file in .ssh called authorized_keys with a text editor. We will use nano to edit the file:
nano ~/.ssh/authorized_keysNow insert your public key (which should be in your clipboard) by pasting it into the editor.
Hit CTRL-X to exit the file, then Y to save the changes that you made and ENTER to confirm the file name.
Now restrict the permissions of the authorized_keys file with this command:
chmod 600 ~/.ssh/authorized_keysType this command once to return to the root user:
exitNow your public key is installed, and you can use SSH keys to log in as your user.
Disable Password Authentication
This step will only allow you to log into your server using the SSH key you just created. Only people who possess the private key that pairs with the public key that was installed will get into the server. This increases your server's security by disabling password-only authentication.
Only follow this step if you installed a public key in the last step. Otherwise, you'll lock yourself out of the server.
To disable password authentication, follow the proceeding steps.
As the root user or new sudo user on your server, open the SSH daemon configuration file using the following command:
sudo nano /etc/ssh/sshd_configFind the line that says PasswordAuthentication and change its value to no. It should look like this after the change was made:
PasswordAuthentication noSave and close the file using the method: CTRL-X, then Y, then ENTER).
To reload the SSH daemon and put our changes live, type the following command:
sudo systemctl reload sshdPassword authentication is now disabled. Now your server can only be accessed with SSH key authentication.
Test Login Using SSH Key
On your local machine, log in to your server using the new account that we created. Use the following command:
ssh bob@server_ip_addressOnce authentication is provided to the server, you will be logged in as your new user.
Basic Firewall Setup
Ubuntu servers can use the UFW firewall to ensure only connections to certain services are allowed. It's a simple process to set up a basic firewall and will improve your server's security.
You can see which applications are UFW currently allows by typing:
sudo ufw app listThis should output the following:
Available applications
 OpenSSH
We need to make sure the firewall allows SSH connections so that we can log back in next time. To allow these types of connections, type the following command:
sudo ufw allow OpenSSHAnd then enable the firewall:
sudo ufw enablePress y and then ENTER to proceed. You can see that SSH connections are still allowed by typing:
sudo ufw statusThat was the last step in the initial setup for our server and now we're ready to install and configure Nginx.
vultr relogin
usr:email
password:password
authorization code from your email (login email)
Trusted Device Security

Current preference: Authorization code for unrecognized devices
An authorization code has been sent to you via email, please enter it below:
Step 2 - Install & Configure Nginx
It's time to install Nginx and set up our server to host web content.
Let's get Nginx configured on your server.
Install Nginx
Nginx is available in Ubuntu's default repositories, so installation is pretty straightforward.
Run the following commands to update your local apt package index so we have access to the most recent package lists:
sudo apt-get update && sudo apt-get install nginxapt-get will install Nginx along with any other required dependencies.
Adjust the Firewall
Before we can test Nginx, we need to reconfigure our firewall software to allow access to the service. Nginx registers itself as a service with ufw, our firewall, upon installation. This makes it rather easy to allow Nginx access.
We can list the applications configurations that ufw knows how to work with by typing:
sudo ufw app listYou should get a listing of the application profiles:
Available applications:
  Nginx Full
  Nginx HTTP
  Nginx HTTPS
  OpenSSH
There are three profiles available for Nginx:
- Nginx Full: Opens both port
80(normal, unencrypted web traffic) and port443(TLS/SSLencrypted traffic) - Nginx Http: Opens only port
80(normal, unencrypted web traffic) - Nginx Https: Opens only port
443(TLS/SSL encrypted traffic)
It's recommended that you enable the most restrictive profile that will still allow the traffic you've configured. Since we haven't configured SSL for our server yet, in this guide, we will only need to allow traffic on port 80. When we setup SSL Encryption later on, we'll change these settings.
You can enable this by typing:
sudo ufw allow 'Nginx HTTP'You can verify the change with this command:
sudo ufw statusCheck your Web Server
The Nginx web server should already be up and running.
You can check with the systemd init system to make sure the service is running by typing:
systemctl status nginxOutput:
● nginx.service - A high performance web server and a reverse proxy server
    Loaded: loaded (/lib/systemd/system/nginx.service; enabled; vendor preset: enabled)
    Active: active (running) since Mon 2016-04-18 16:14:00 EDT; 4min 2s ago
  Main PID: 12857 (nginx)
    CGroup: /system.slice/nginx.service
      ├─12857 nginx: master process /usr/sbin/nginx -g daemon on; master_process on
      └─12858 nginx: worker process
You can access the default Nginx landing page to confirm that the software is running properly. You can access this through your server's domain name or IP address.
When you have your server's IP address or domain, enter it into your browser's address bar:
http://server_domain_or_IPYou should see the default Nginx landing page, which should look something like this:
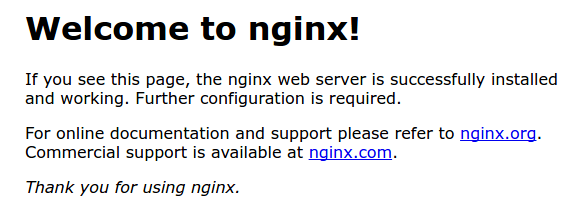
Congratulations! You now have a web server running using Nginx!
Step 3 - Display Some Custom HTML
After following the previous steps, you now have a web server running on your Vutlr server. Now we can add some custom HTML to display whatever we want instead of the default HTML Nginx displays.
Update Nginx Configuration
By default, Nginx is configured to serve documents out of a directory at /var/www/html. To have Nginx serve a different site instead, you need to create your own directory within /var/www for our site. The actual web content will be put in an HTML directory within this directory.
To create this directory (replace example.com with the name of your site or directory):
sudo mkdir -p /var/www/example.com/htmlThe -p flag tells mkdir to create any necessary parent directories along the way.
Now that we have the directory, you need to reassign ownership of the web directories to the normal user account. This will let you write to them without sudo.
You can use the $USER environmental variable to assign ownership to the account that you're currently signed in on (make sure you're not logged in as root). This will allow you to easily create or edit the content in this directory:
sudo chown -R $USER:$USER /var/www/example.com/htmlThe permissions of your web roots should be correct already if you have not modified the umask value, but you can make sure by typing:
sudo chmod -R 755 /var/wwwThe directory structure is now configured and you can move on.
Create a Sample Page for your Website
Now that the directory structure is set up, let's create a default page for your website so that it will have something to display.
Create an index.html file in the directory you just created:
nano /var/www/example.com/html/index.htmlInside the file, create a really basic HTML file. It will look like this:
<html>
  <head>
  	<title>Welcome to Example.com!</title>
  </head>
  <body>
  	<h1>Success! The example.com server block is working!</h1>
  </body>
  </html>
Save and close the file when you are finished.
Tell Nginx to Serve the New Html File
Now that you have the content created in the new /var/www/example.com/html directory, you need to tell Nginx to serve that directory instead of the default /var/www/html it's currently using.
To do this, open the default Nginx configuration file with nano:
sudo nano /etc/nginx/sites-available/defaultYou need to change the document root, specified by the root directive in the file. Change that line so it points the directory you created for your site:
root /var/www/example.com/html;Everything else can be kept the same. Save and close the file when you are finished.
Next, test to make sure that there are no syntax errors in any of your Nginx files:
sudo nginx -tIf no problems were found, restart Nginx to enable your changes:
sudo systemctl restart nginxNginx should now be serving the new HTML we added.
Test the Results
Now that you are all set up, you should test that your server is functioning correctly. You can do that by visiting your domain in your web browser:
http://server_domain_or_ip_addressYou should see a page with these words:

If the site works, you have successfully configured Nginx.
other:
Vultr Trusted Device Security
Current preference: Authorization code for unrecognized devices
An authorization code has been sent to you via email, please enter it below:
get it from your register mail.
Conclusion
After working through this article, you now have a Nginx web server up and running in the cloud using Vultr.
Thanks for reading and happy coding!