Throughout this post, we need some preparations:
We can also use Visual Studio Code (VSC), but we’re assuming to use VS for this post.
Creating ASP.NET Core Web Application
Open Visual Studio and create a new ASP.NET Core web application project. As this web application likely uses .NET Core version 1.0.1, we need to update it to 1.1 by updating global.json:
Also, update project.json so that all NuGet packages in the web application can be complied to .NET Core 1.1:
As mentioned earlier, we’re using Webpack instead of Bower, so remove Bower-related configuration files as well as ASP.NET Core native bundling & minification setting files:
.bowerrcbower.jsonbundleconfig.json
And finally, all directories and files under the wwwroot directory need to be deleted. We’re all set now at the ASP.NET Core application side. Let’s add Vue.
Installing Vue.js
We can use Vue as a stand-alone library by simply including the script from CDN. However, if we want to use its powerful features especially for componentising, module bundlers like Webpack should be considered. In order to use Webpack for Vue.js, if node.js and npm have already been installed, install vue-cli:
Then, install the basic template by running the following command:
During installation, just leave all the question as default value and finally template gets installed. Now, run the following command to install all npm packages and run the Vue app:
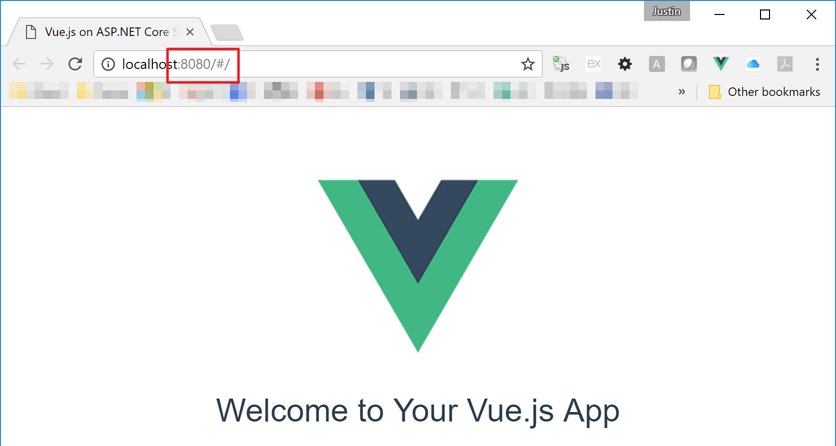
Since Vue uses the port number of 8080, we can see the result as expected. However, this is just a Vue app running independently, not the one integrated with ASP.NET Core. Let’s move on.
UPDATE on March 6th, 2017: when we run
vue-cliusing the commandvue init webpack, it installs[email protected]. If the version of VueJs is earlier than that, please update as VueJs has some breaking changes on 2.2.x.
Integrating Vue.js with ASP.NET Core
This is the main part of this post. We need to touch configurations at both sides.
Configuring Vue.js
First things first. We need to install the npm package, aspnet-webpack, to enable communication between front-end framework and back-end application through Webpack:
Once installed, update config/index.js to setup the root directory:
And finally, create webpack.config.js and save it to the root directory of the ASP.NET Core project:
We now got Vue.js setup done. What’s next?
Configuring ASP.NET Core
aspnet-webpack corresponding package in the ASP.NET Core side is Microsoft.AspNetCore.SpaServices. Install it through NuGet package manager and register a middleware at Startup.cs:
We also need to add a routing configuration for SPA like above. Is the ASP.NET Core side relatively simple? Let’s punch the F5 key to run the app and see how it’s going.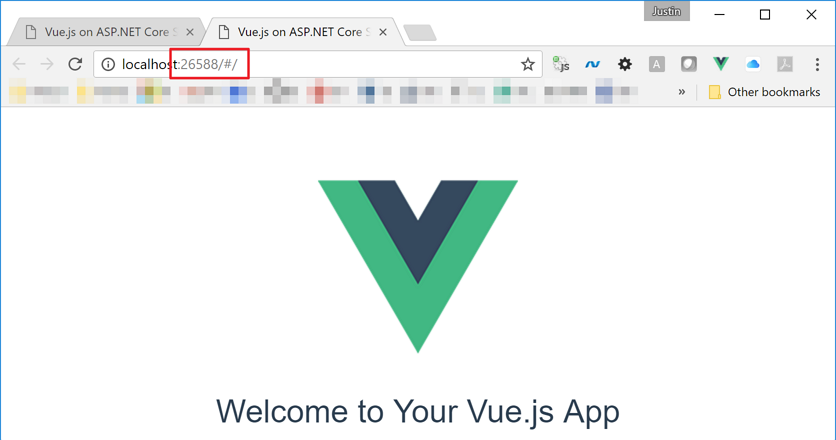
We now can see a different port number that is handled by the ASP.NET Core app. So, technically we completed integration between Vue.js and ASP.NET Core! How can we ensure if they are actually working together? Let’s implement a basic AJAX call to see whether they get along with each other. Of course further modification is required. Who can stop us?
Handling AJAX Request/Response
As Vue.js core is lightweight, if we want to implement more sophisticated works like handling AJAX request/response, we need to install another npm extension called vue-resource.
Once installed, add it to the Vue instance for use. Update src/main.js like:
Now we need to implement AJAX request/response codes. Open /src/components/Hello.vue and modify it like:
What we can expect from this change is the message Welcome to Your Vue.js App will be replaced with the value from res.body.message. Now we need to implement the Web API. Here’s the Web API controller and action:
All good. Build the app, press the F5 key and confirm the result.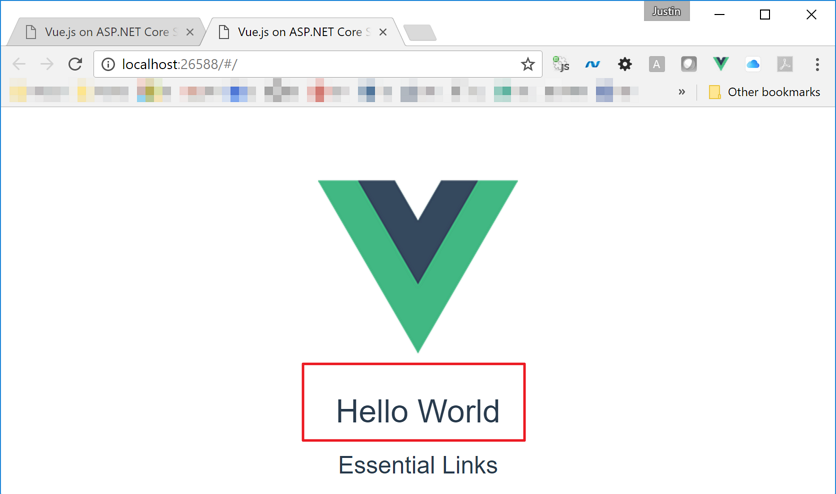
We can see Hello World, instead of the original message.
Side note: Another benefit of using Webpack is Hot Module Replacement (HMR). As long as the app is up and running on our local machine, we can instantly change something and check the result with no time, without reloading the page. Of course, if we install .NET Core Watcher tool, we don’t even need to rebuild and rerun the app itself either.
Deploying App to Azure
We’ve built an ASP.NET Core web application with Vue.js. Now it’s time for deployment. We don’t use View features provided by ASP.NET Core. Instead we just use a static(?) wwwroot/index.html. In our local development, we don’t really have to worry about that as our development environment automatically detects that. However, in a production environment, we have to specify we’re using the static index.html page; otherwise Azure web app can’t recognise it. To enable this feature, we need to update Startup.cs:
Make sure that the UseDefaultFiles() method must always come before the UseStaticFiles() method. Finally update deployment/publish related settings in project.json for Vue.js:
Everything is done! Deploy this web app to Azure and see the result. Can we see it as expected?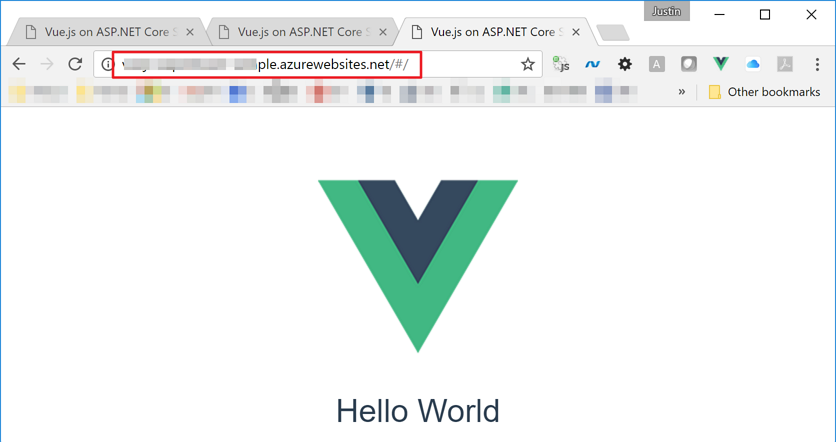
So far, we have installed Vue.js, integrated it with ASP.NET Core, implemented whether both are working together or not, and deployed the app to Azure web app instance. Some may think this looks too complicated, but actually, it’s not that tricky. Rather, we’ve got another option on ASP.NET Core application development using a different front-end framework. As long as a new front-end framework emerges and it supports Webpack, we can make it working like this approach. The next post will discuss how to write VueJs apps in TypeScript, running on ASP.NET Core.